White paper

Télécharger le fichier  "FINAL - Google Docs.pdf"

0 comments

Last Week Summary

Howdy!
The end of the year is near, and now it is my duty to prepare my work for others to continue on my legacy. My main goal is to make my white paper appealing to other students, while providing as much information as possible, to make it easier to pick up my project where I left it.
I believe I completed most of the research work, what's left is mostly programming. I have hopes that my project would take maximum one or two quarters to finish.
While I'm doing that, I also had to work to get my SEVIS transfert for my I-20. It requires a lot of paperwork, and I even had to go down to Hilo to get some important papers signed, but I'm finally done.. Or at least, I hope !

Here are the links I used for my I-20 transfert request

0 comments

Week 13 summary

Howdy!

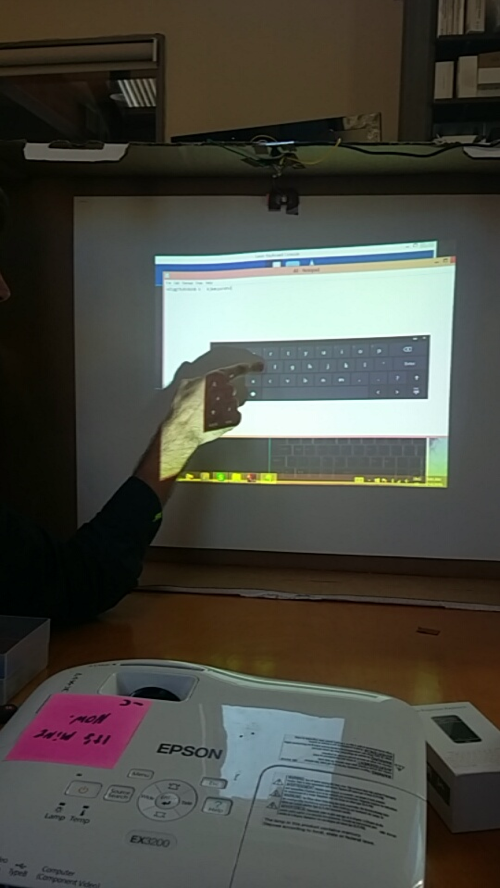
Final presentation week ! (Oh, and AP test week.) It went fine, I felt like I was prepared even though there were a few points that I could have done better. I tried to explain my project step by step from the beginning of last semester to today, going through the different breakthrough and discoveries we made one at a time. After then describing how my project work, I simply showed it in action, by pointing the camera at the screen and having the lasers shine at my fingers on the wall.

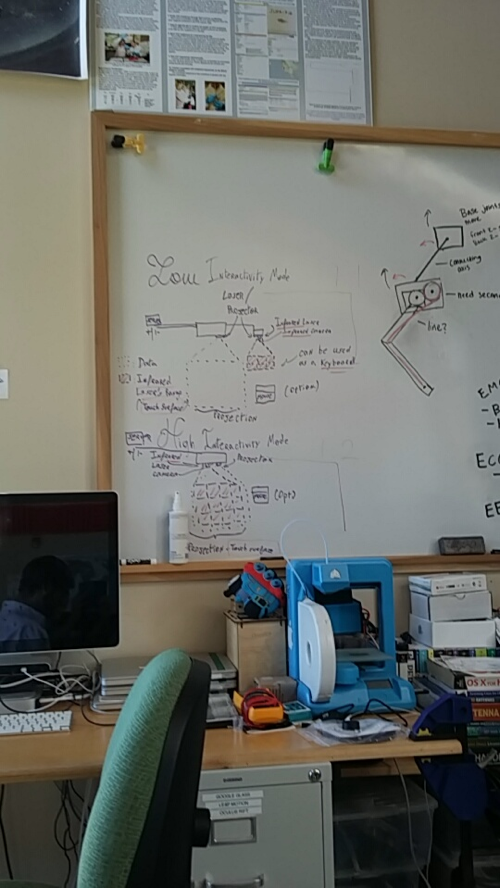
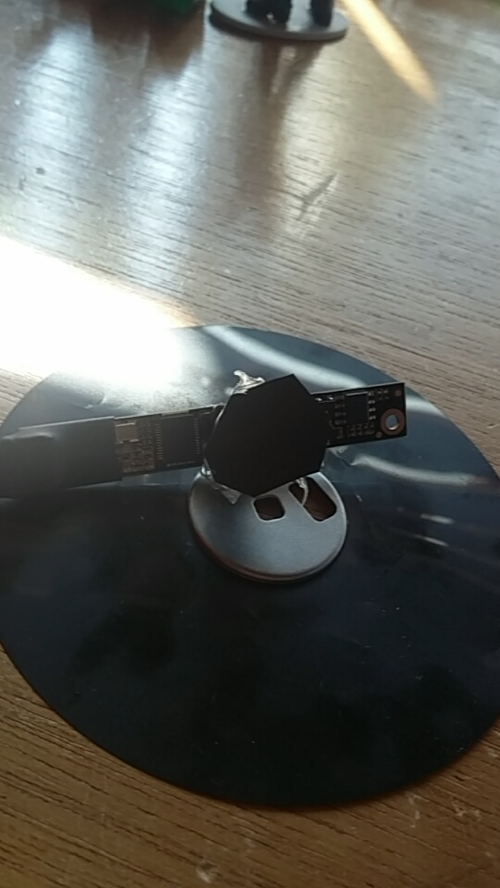
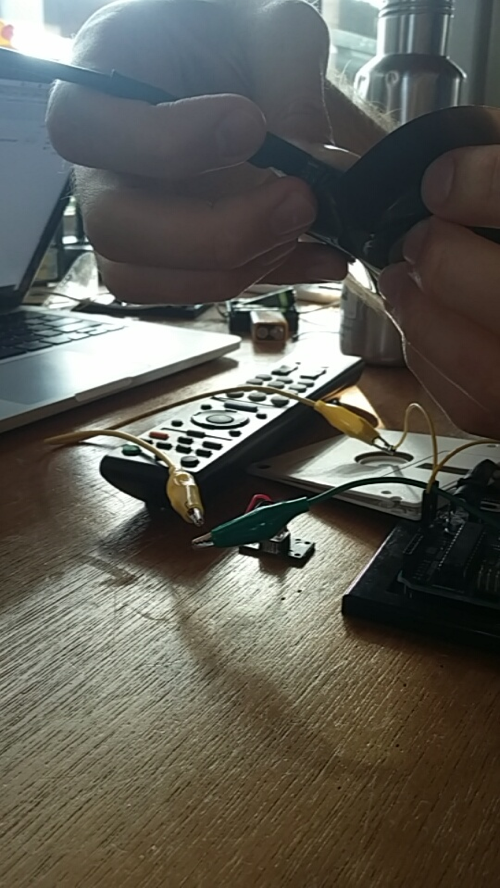
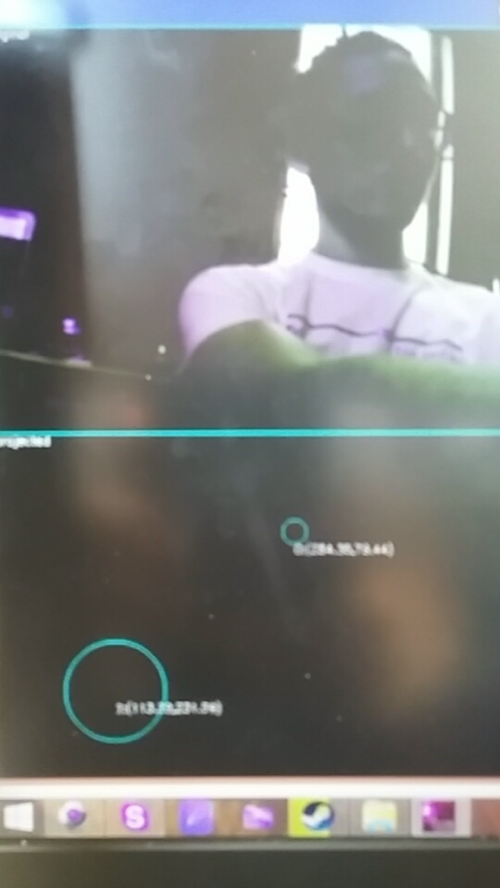
Here are the pictures I used during this presentation, or at least the most important ones.


0 comments

Week 12 summary

Howdy!

Sadly, not much work was accomplished during my birthday week, as Mr. H was sick and my programming ability was still far from being good enough to make me understand anything about what I'm doing with the program. Although I didn't get to work on the code, we ended up getting organized on Friday for Tuesday's final presentation ! I worked on a slideshow by myself, but together we prepared the environment for my future presentation, by placing the lasers like-a-so
*Insert picture of the white board with the lasers mate*
After that, I just kept the camera close, practiced a little bit, got to listen to myself presenting something I wasn't ready to present as a training ritual of some sort, and basically used up about two rolls of tape.
Now, the presentation is coming on Tuesday, and I just need to finish my slideshow !

0 comments

Week 11 summary

Howdy!

As the year gets closer to its end, and so does my presentation's due date, I managed to achieved what I think is the most valuable thing I could have gotten out of this year; knowledge. I understand my mistakes, and I know what to do to avoid them. I may not have a lot of time left, but my goals are clear. There is much to do, and I know where to start. Now that I have all the required material, I can start building my project, which is what I've been working on.

I figured out that I could use two lasers instead of one, by placing them horizontally to cover a wider space. This could show a lot of use if my display is wider in width than it is in height, as many computer screens and projectors tend to be. The hardest part is going to be the programming; mounting the lasers will take me maximum two hours, because after all, I don't have to build anything, just place it in the right spot. Sadly, I feel like we may not have time to finish the code, which is okay, there are still other things I can do with the material we bought.

0 comments

Week 10 summary

Howdy !

Good news everyone, our laser AND our projector just arrived ! Now, it is only a matter of time ( and programming ) before we can finish the prototype. I glued the line crystal on the laser and tested it with the IR camera. It will require some contrast and brightness adjustments, but it seems to be working very well. Oh, and we also got brand new IR glasses to protect my eyes when workings with the IR laser, since it's a high power one. So.. Safety first ! My goal now is to finish the programming part, and finally start to mount it on a wall.
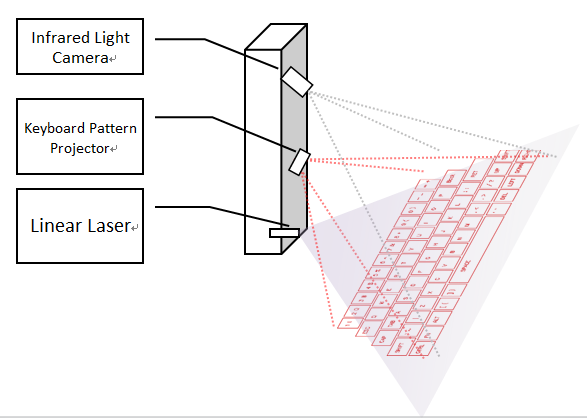
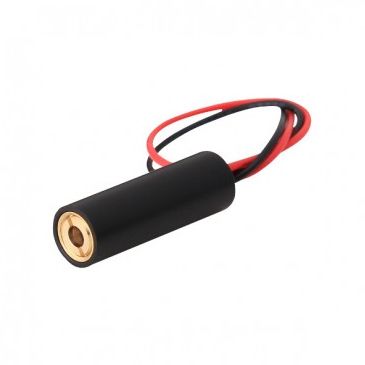
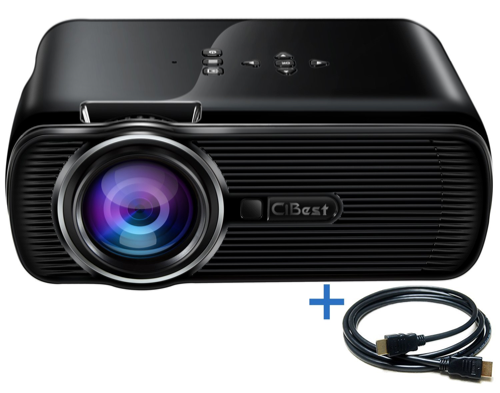
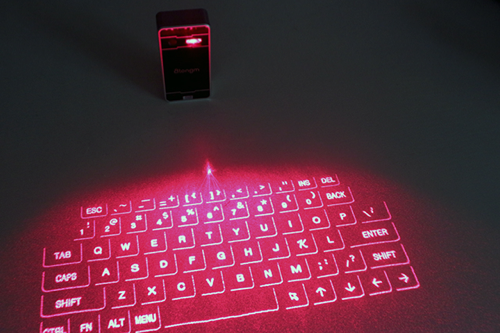
Here are some pictures of the products, mostly the projector and the laser.


Taken straight from the seller's website.

0 comments

Week 9 summary

Howdy!

After spring break, we're back in action with new experiments ! Sadly, we didn't have much time to work on the coding, but I hope we can finish it before the end of the year. I try to stay optimistic, and find other things to do.
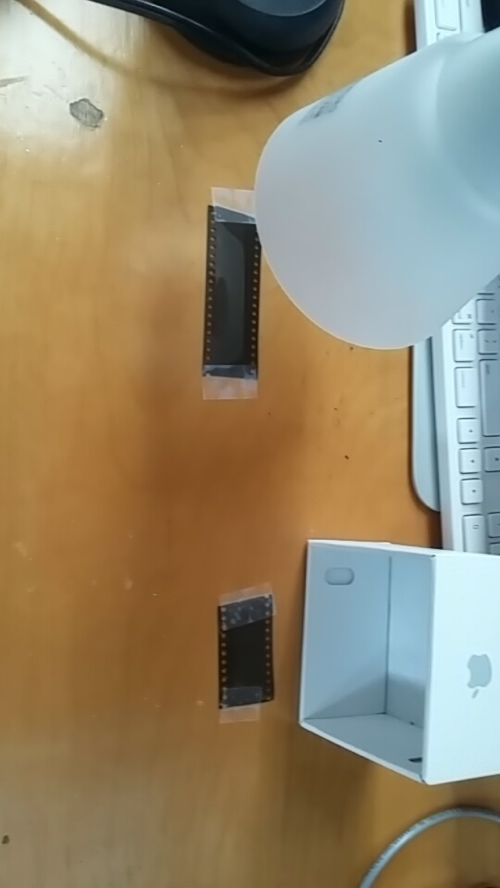
I started to experiment with my new little friend : The old photography films. It's.. Fuzzy, and might not be the best, but it does block visible light fairly well. So well that I actually can't see anything.


I started a little experiment, to find what kind of light I should expose the negatives to, to make the optimal visible light filter. Although it does make a different, I find that it's still too fuzzy to be used on my camera. Moving on !

Now, I am considering using the black plastic on a remote control. It does block light, and it's probably something close to professional quality, since it's in a Sony product. It does block visible light, although everything is slightly red-shifted, nothing too problematic. If I play with the exposure, I might be able to make it a powerful filter, and therefore have a broader range for my camera.

Next week, I wish to continue working on the programming, as it is one of the last step for my project to be over. However, if I can't, I'll continue to experiment with the black glass from the remote control.

0 comments

Week 8 summary

Howdy!

Here we are, let's build the program. This is a very complicated piece of code and I don't know if I could ever do it alone, so thank you Mr. H for helping me go through all the errors in the program. We managed to solve one. It doesn't sound amazing, but it's one step closer to actually building it ! And by solving one.. I meant, commenting it out. Eh, hopefully it wasn't needed anywhere else. Right ?

Oh well, since we might not be able to run it on PC, I tried to look for an equivalent to Powershell on apple. It's called *wait for it*, Applescript. Oh well.

We're so close, but yet so far !

0 comments

Week 7 summary

Howdy!

With the arrival of the new lasers, I finally got back into IR-business ! Small problem though, the lasers are still not powerful enough. By this, I don't necessarily mean that their power is not high enough, but the camera doesn't see the laser nearly as much as the old one did. I might need to make a new filter, which is why I asked Mr. Oleary for negatives, so I can use them to make a better visible light filter.


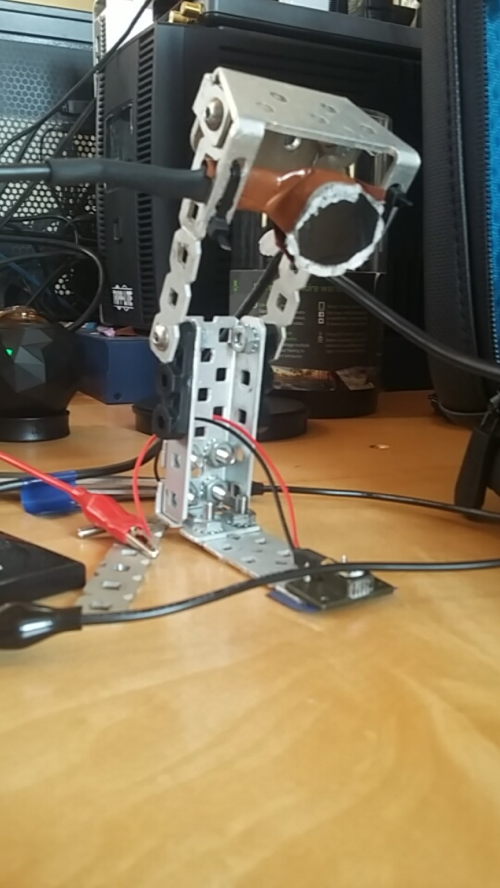
Using the little stand that I made, I still got to test the new lasers, and could at least use that to dig into the code a little bit more. We're now soon going to start building the code, which is extremely scary since it's full of errors and doesn't want to cooperate. But anyway, I stay determined, and I'm closer than ever to finishing my project !

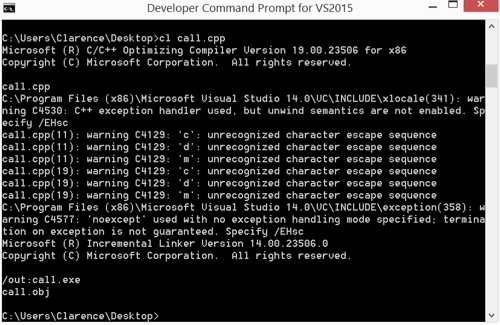
I also compiled a C++ program that runs a powershell script, so I've got that going for me, which is nice.

0 comments

Week 6 summary

Howdy !

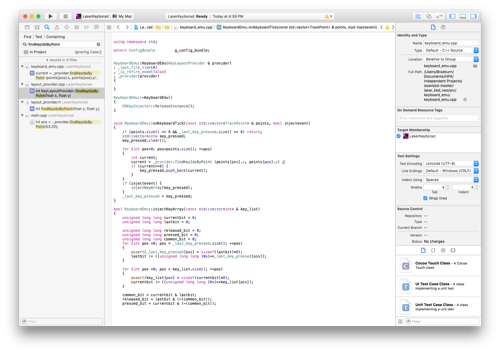
With Mr. H's help, we finally decoded the laser keyboard program and found where the raw coordinates are given in the code. Using this, I will take the coordinates and send them to a powershell script to move the mouse and click anywhere on the screen.
The only thing I'll have to do is translate the coordinates from the camera to coordinates I can use with my computer screen, but it shouldn't be an issue.

On top of that, I also learned how to compile a C++ program using the developer command line:

https://msdn.microsoft.com/en-us/library/bb384838.aspx


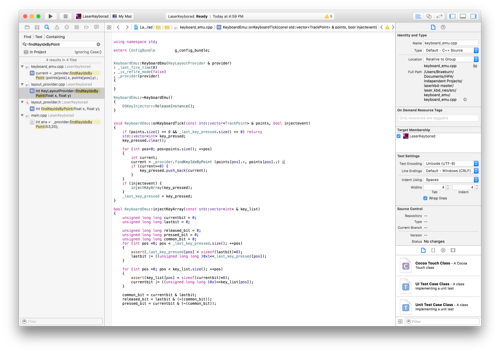
But going back on the programming side, the biggest achievement was to find the coordinates in the program, right there :


0 comments

Week 5 summary

Howdy !

Even without a lot of time this week, I still managed to get some work done. Mr. H and I started to look inside the code, and on my side I was learning about lasers and trying to find a way to make the ones I have more powerful.
I discovered this MIT class called Laser fundamentals and proceeded to watch as much as I could during my free time. The complicated math aside, I learned interesting facts about lasers, especially the old ones powered by sapphire. I'm planning on watching the second course soon, but I doubt I find anything for my project, it's mostly a side hobby now.

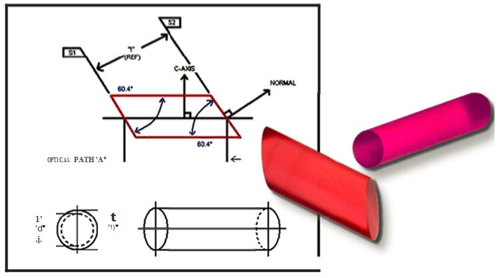
If you're wondering, here's how a sapphire laser works:


On the right, there is the sapphire piece ( which is red, because the blue sapphire is only the mainstream one, sapphire can have any color, and pink sapphire is actually the most common. ), which is where the photons travel from one end to another, bouncing on a 0% transparent mirror onto a 2% transparent mirror.

But going back on my project, when the coding will be done, it's all going to be a waiting game, waiting for the laser to come, which will hopefully be powerful enough!

Here's the github of the code we're currently looking at.

https://github.com/robopeak/laserkbd


0 comments

Week 4 summary

Howdy!
Many of us are familiar with this intense feeling of satisfaction after something we've been stuck on for so long finally works out, after a long journey in unknown territory and a sign finally appear. This feeling is what I've been experiencing quite often last year, and it comes with great relief that I can say that my project is close to being finished.

After burning my laser because of the intensity of the battery, I thought I was pretty much done with my project until a new one would come out from Amazon. I simply duct taped the camera to a white board for convenience sake, made some measurement on where to place the laser (when I'll have one) and the projector for optimal touch surface, and pretty much decided to wait until my laser would finally arrived.

I'm still waiting, but the discovery of something amazing gave me the answer to a question I've been asking myself for so long now : How do I make a mouse with the raw x-y coordinates ?

Powershell.

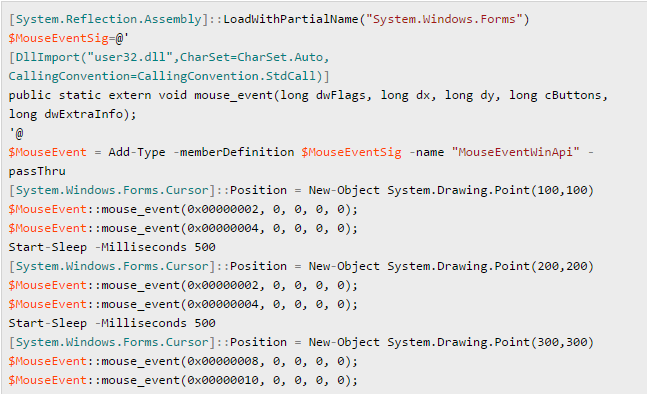
Yes, the answer is Powershell, this powerful(get it?) Microsoft tool that will allow me to move the cursor and even simulate a right and left click anywhere I want on the screen ! My next step is to dive into the laser keyboard's code one more time to find the x,y coordinates, and write a Powershell script that I could run in C++ to move the mouse anywhere I wish to. Ah, technology is beautiful. I'm still waiting for that laser though.

https://movemouse.codeplex.com/ : Software that introduced me to Powershell


How to simulate a mouse click using Powershell

0 comments

Week 2 summary

Howdy !
I did not get a lot of time to work this week, but I did find a way to attach the visible light filter (aka floppy disk) to the camera, by hot gluing it to a circle in soft plastic that I cut earlier. It works pretty well, and my next step will be to (finally) build the prototype ! As a starter, Mr. H and I decided to make it on a piece of cardboard, so we can easily move it around and not annoy anyone by taking wall space.


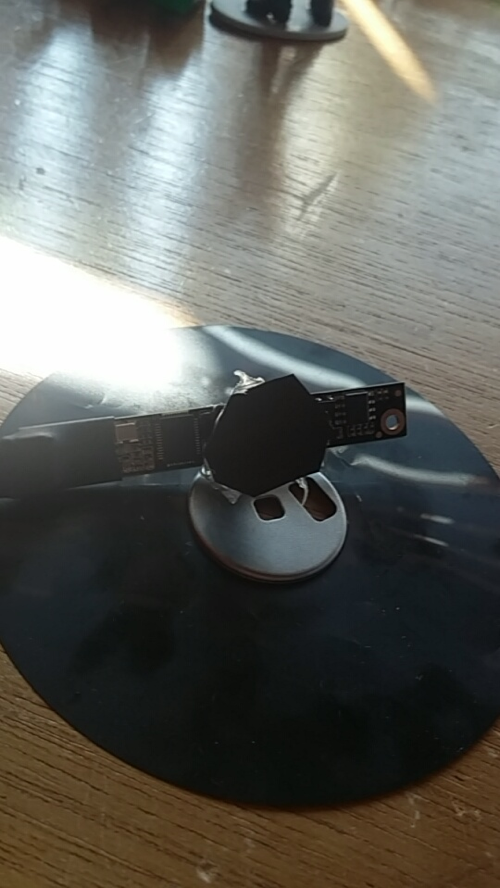
However, I did end up losing the piece I attached the filter to, so I had to make bigger, stronger one and glue it to the camera so it wouldn't move. I also ended up building the actual prototype and marking with tape locations on the table to calibrate the laser, and it works pretty well ! I still have to find the best way to calibrate it, and I am looking forward to attach the entire thing to a wall, to kind of stick it in place.


https://github.com/robopeak/laserkbd : In case I want to dive into the code of the laser keyboard app, the open source programming is hosted on this link.

https://www.reddit.com/r/DIY/comments/2mup37/how_to_block_visible_light_but_not_ir/: A reddit (yes, reddit) about how to block visible light that I used to find the cheapest and most efficient method : floppy disks.


http://www.robopeak.net/data/binary/laserkbd/release_1.2/rplaserkbd.macOS.zip : The MacOS version of the app I've been using. I don't think I'll get to use it, but I might just leave it here just in case. The link was removed, but I can access a cache version thanks to my computer.


0 comments

Daily Blog 01/12

Howdy !
I did not get a lot of time to work today, but I did find a way to attach the visible light filter (aka floppy disk) to the camera, by hot gluing it to a circle in soft plastic that I cut earlier. It works pretty well, and my next step will be to (finally) build the prototype ! As a starter, Mr. H and I decided to make it on a piece of cardboard, so we can easily move it around and not annoy anyone by taking wall space.


0 comments

Week 1 summary

Short week, I only have a few links :

http://www.robopeak.net/data/binary/laserkbd/release_1.2/rplaserkbd.macOS.zip : The MacOS version of the app I've been using. I don't think I'll get to use it, but I might just leave it here just in case. The link was removed, but I can access a cache version thanks to my computer.

https://github.com/robopeak/laserkbd : In case I want to dive into the code of the laser keyboard app, the open source programming is hosted on this link.

https://www.reddit.com/r/DIY/comments/2mup37/how_to_block_visible_light_but_not_ir/ : A reddit (yes, reddit) about how to block visible light that I used to find the cheapest and most efficient method : floppy disks.

0 comments

Daily Blog 01/07

Did you know that floppy disks make great visible light filters ? Neither did I !
A perfect fit for my project, isn't it ? It's cheap, easy to open, and nobody will be mad at me for breaking them because it's obsolete. The real obstacle is to find one though.

After an hour long run all across campus, I finally stopped by the IT building, that gave me a good dozen of floppy disks even if I needed two, thank you Mr. Bernstein. The floppy disk in hand, I just had to take it apart and cut a little part, and then put it in front of the camera. And it works ! Well, everything is black, but I took apart the laser keyboard one last time to steal the near infrared laser, put the diffraction crystal (yes, it sounds so sci-fi) in front of the laser, and Ta-da ! It works ! I then tried to use the app with it, and I made an actual working keyboard out of the table I was working on. Not very accurate, but it's amazing how easy things appear to be now.


0 comments

Daily Blog 01/06

Happy new year !

I started the year strongly by using the near infrared camera we found earlier with the DIY keyboard kit app, to make an actual working laser keyboard ( I still need a laser though. )

'tis me !

My next step will be to use some kind of filter to block all visible light, to make the camera a near infrared only camera. With that done, I will only have to use my infrared laser, duck tape everything to the wall, and I'll have my working prototype !
I then have a choice to make : I can either just use the keyboard app and program applications that use keyboard stroke, or dive deep into the app's code to know how they find the coordinates of one's fingers, and use it to my will.


0 comments

Daily Blog 12/3

Even if I didn't technically have class today, I still found a way to progress by using George's infrared camera on the software I used a few weeks ago. My next step will be to find two pieces of film to block the visible light from the light sensor, so I could see infrared light and only visible light. I couldn't figure out how to change the exposure below -10, but I may not even need to do that if I can use the film.


0 comments

Daily Blog 12/1

An exciting day, where we maybe finally found a way to control the cursor through a program in C#. I tried downloading the software but I ran out of time. It's something I'll definitely work on during the break, if I can learn a little bit a C# or find another language where I can control the mouse cursor and the mouse click.

here's the link : http://stackoverflow.com/questions/2416748/how-to-simulate-mouse-click-in-c

0 comments

2015/11/30

Daily Blog 11/24

Short class on this last day before Thanksgiving break, that I spent working on college essays for UC Berkeley, UC LA, and UC Santa Cruz. Mr. H was extremely helpful by reading my essay and giving me comments and advice, and I thank him for that. After the break, I now start working again with new ideas and new goals for my project. Yay lasers !

0 comments